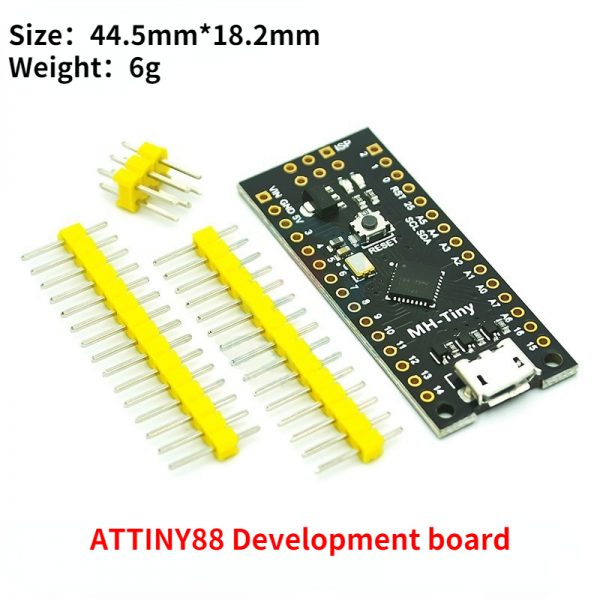
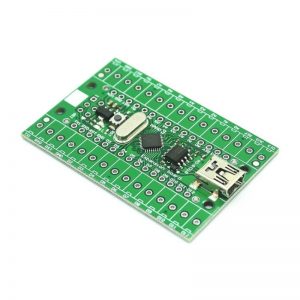
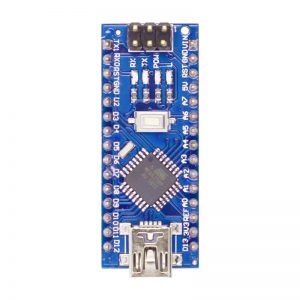
ATTINY88 Development Board Digispark Expansion Board Compatible with NANO V3.0 Improved Board

SKU: FA1010-6 Tag:
Weight 0.006 kg
Dimensions 4.45 × 1.82 × 0.3 cm
Support

Arduino IDE 1.0+ (OSX / Win / Linux)

via USB or external power supply

5v or 7-24v (12v or lower recommended, automatic selection)

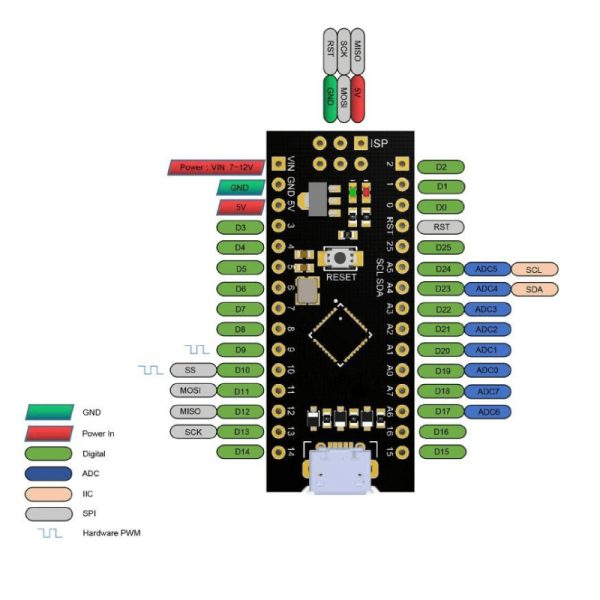
I / O pins

26 (only when your program communicates actively via USB, 2 for USB, otherwise
You can also use all 26 after programming via USB)

Interface

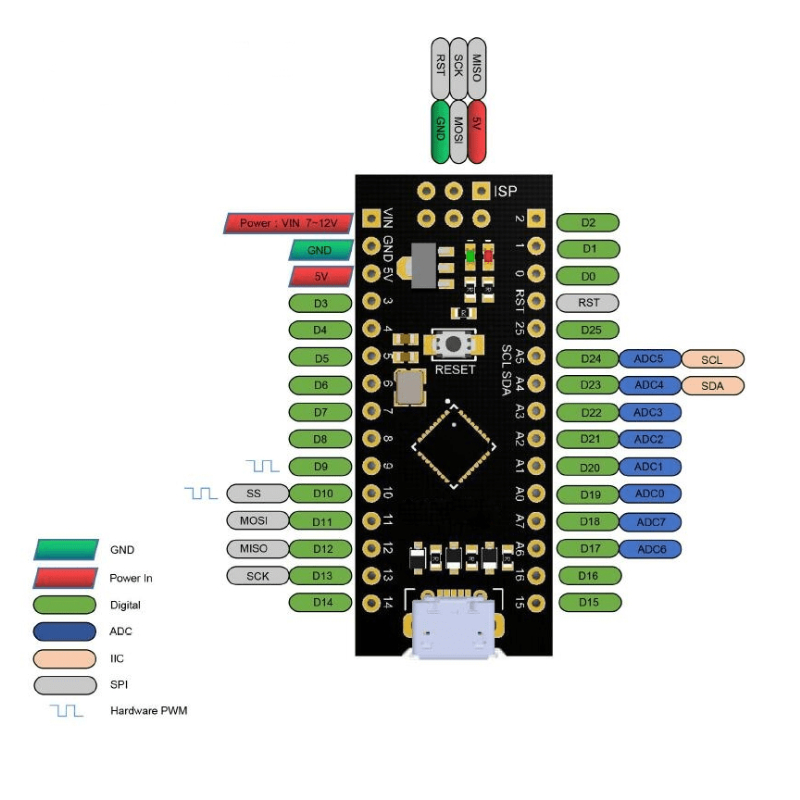
Onboard I2C and SPI

Flash

8k (approximately 6k after bootloader)

PWM pins

26 (software PWM, only two hardware PWMs (D9, D10))

ADC pins

8

LED

Power LED and test/status LED

Description

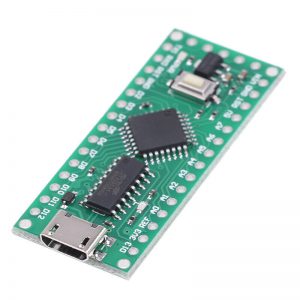
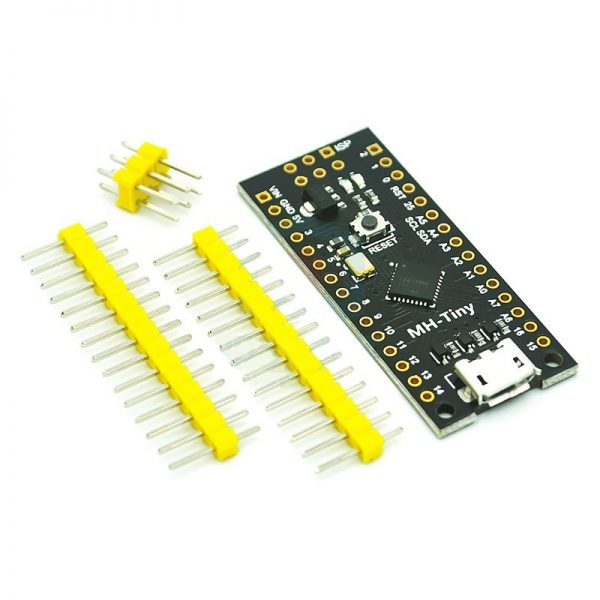
ATTINY88 Development Board Digispark Expansion Board Compatible with NANO V3.0 Improvement Board

The  ATTiny88 (16.0Mhz) microcontroller development board is similar to the Arduino series development board, but it is more cost-effective, smaller and more powerful. Thanks to the familiar Arduino IDE, Tiny88 is a development Board that can quickly get started with electronic DIY, which is a good alternative to other oversized and overly complex development boards.
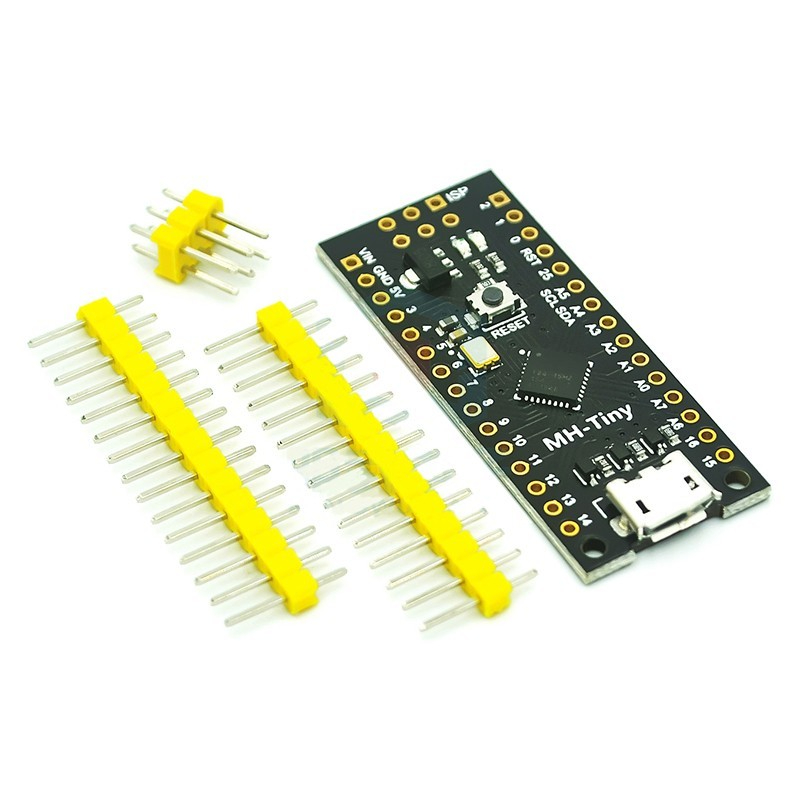
ATTiny88 is manufactured in addition to the pin headers that need to be soldered by the user. The other components are fully assembled and the welding is convenient and simple.
Specifications:
Support for Arduino IDE 1.0+ (OSX / Win / Linux)
5v or 7-24v via USB or external power supply (12v or lower recommended, automatic selection)
Onboard 500ma 5V Regulator
Built-in USB
26 I / O pins (only when your program communicates actively via USB, 2 for USB, otherwise
You can also use all 26 after programming via USB)
8k flash (approximately 6k after bootloader)
Onboard I2C and SPI interface
With 26 PWM pins (software PWM, only two hardware PWMs (D9, D10))
With 8 ADC pins
Power LED and test/status LED
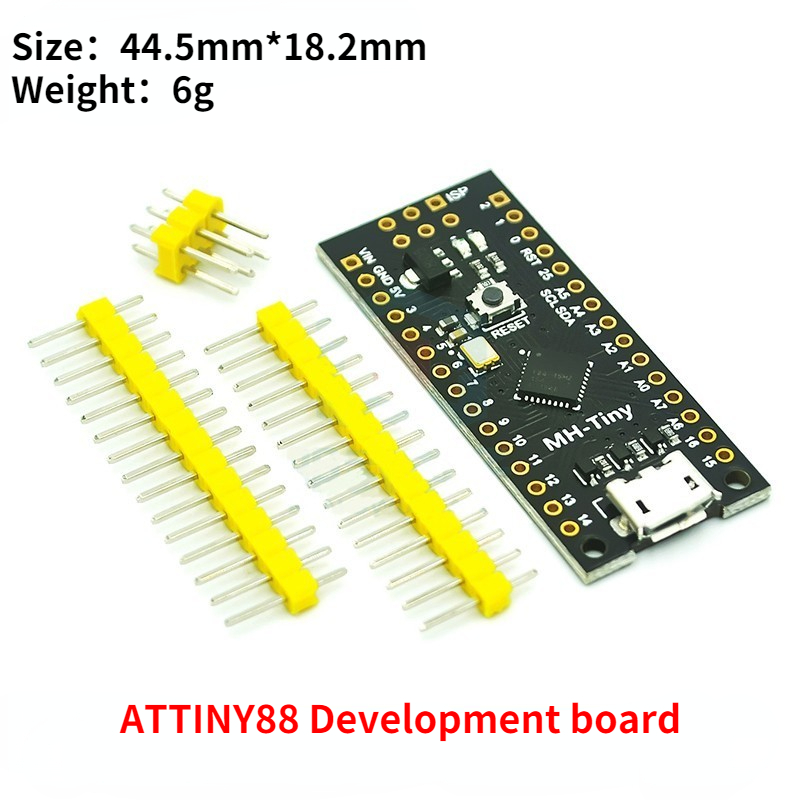
Volume (mm): 44.5×18.3×3
Arduino-based development board installation test steps:
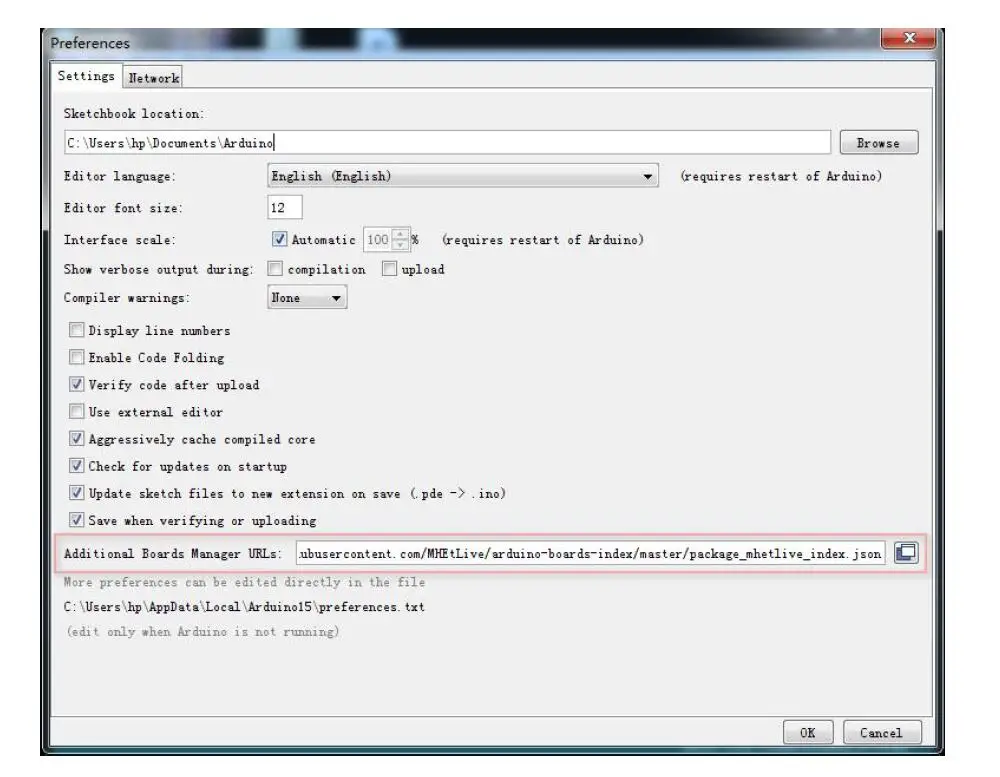
1. Download the installation package: “Addition Board Manager URL” in “File”, “Preferences” in Arduino IDE
In the box, type:
https://raw.githubusercontent.com/MHEtLive/arduino-boards-index/master/package_Mhetlive_index.json
2. Go to the “Tools” menu and select the “Board” submenu – select “Board Manager” and then from the class Select “Contribute” from the drop-down menu: select the “MH-ET LIVE Boards Board” package and click “Install” button;
3.USB driver can also be downloaded in the supporting file, the connection is as follows: https://pan.baidu.com/s/1HOl8jHOrK3TP0gvOtIYoqQ
4. When downloading the program, do not connect the module first, and then insert the module when prompted to insert the module. Waiting for automatic download to complete;
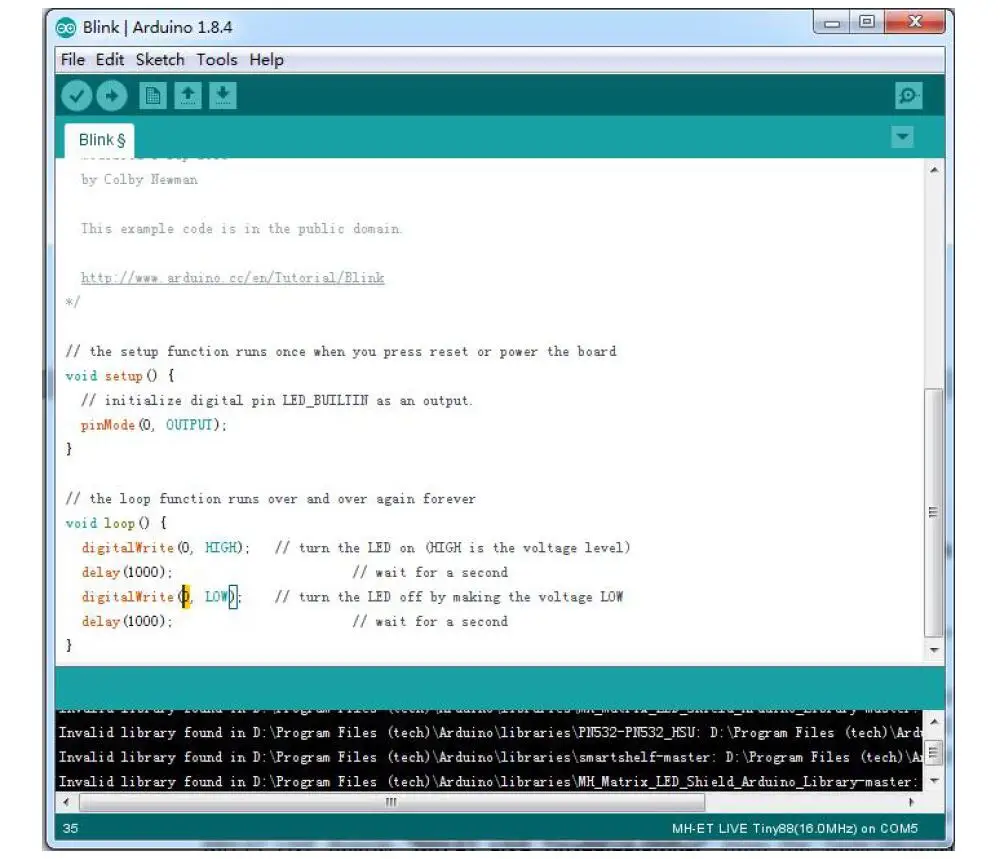
5. You can choose the example that comes with the arduino IDE: select the development board as MH-ET LIVE Tiny88 in the toolbar. Open the program in File>>Example>>Basic>>Blink and change port 13 in the program to port 0. Compile and download into the tiny88 development board as described above, showing that the onboard LED lights are as specified in the program. The frequency flashes.

You may also like…