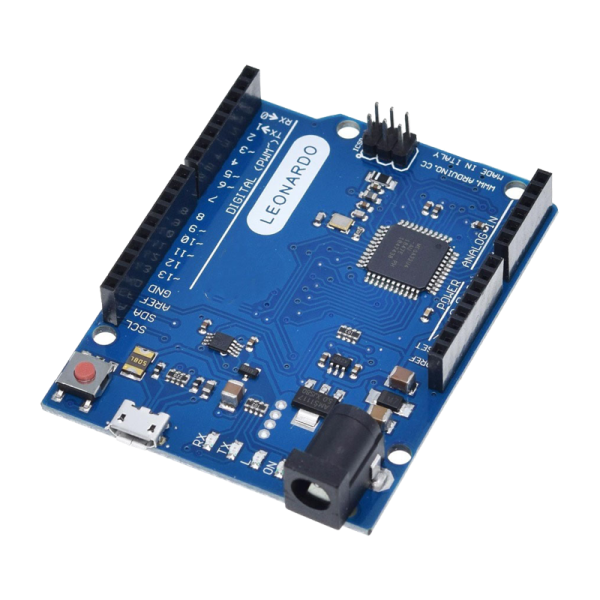
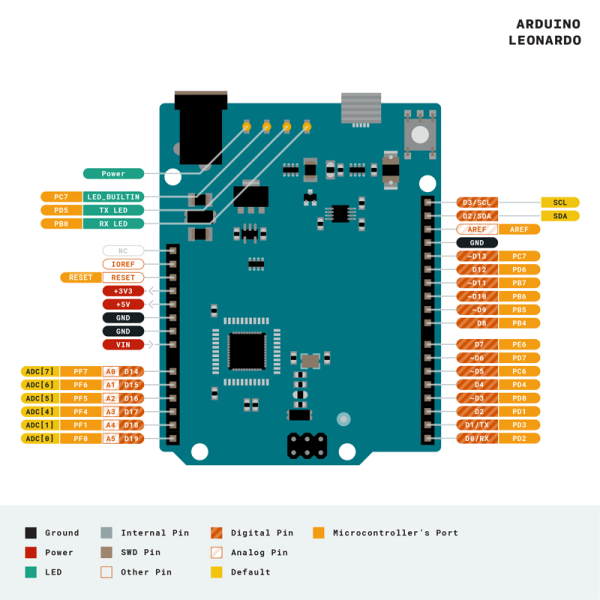
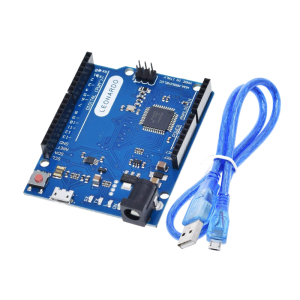
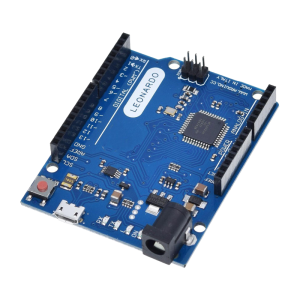
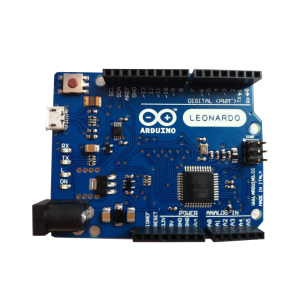
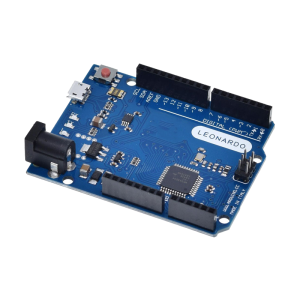
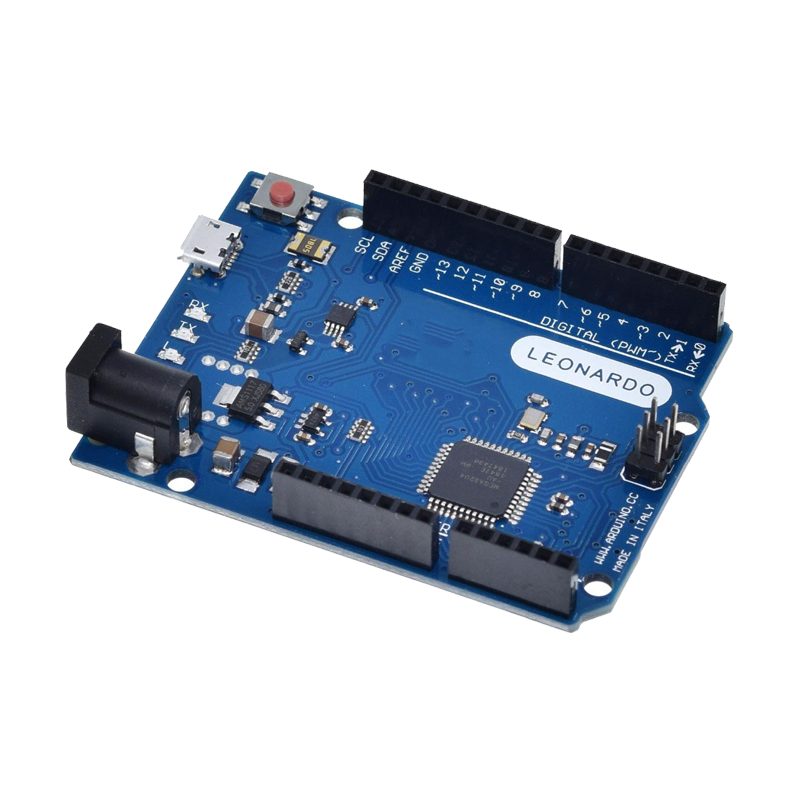
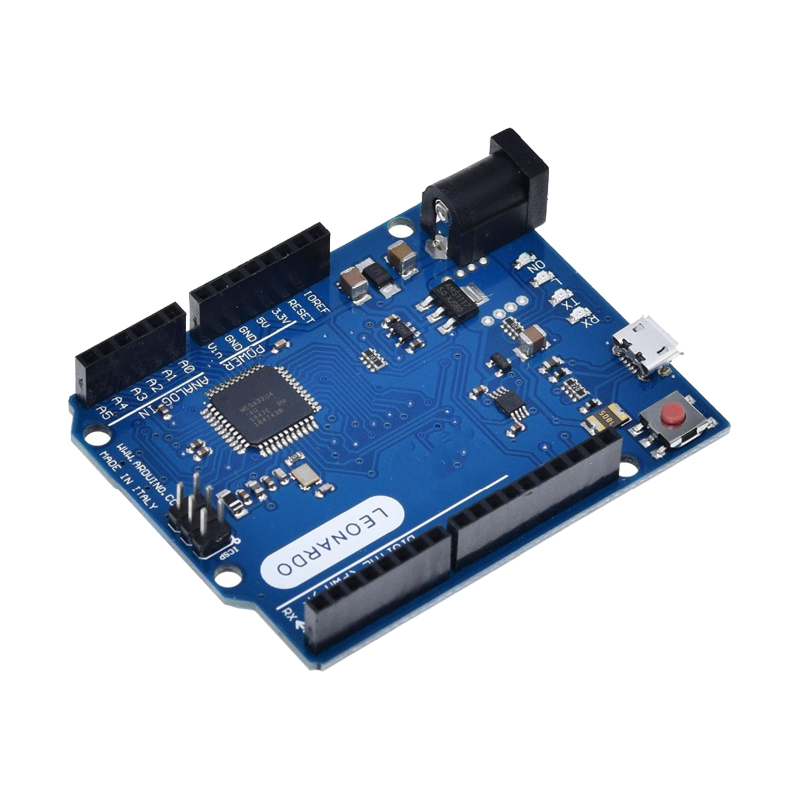
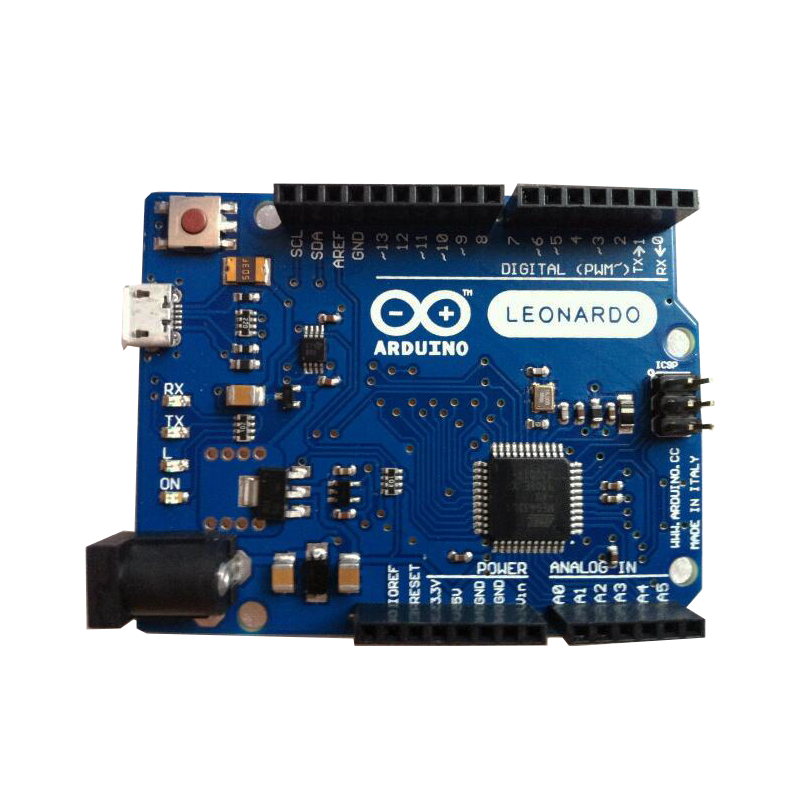
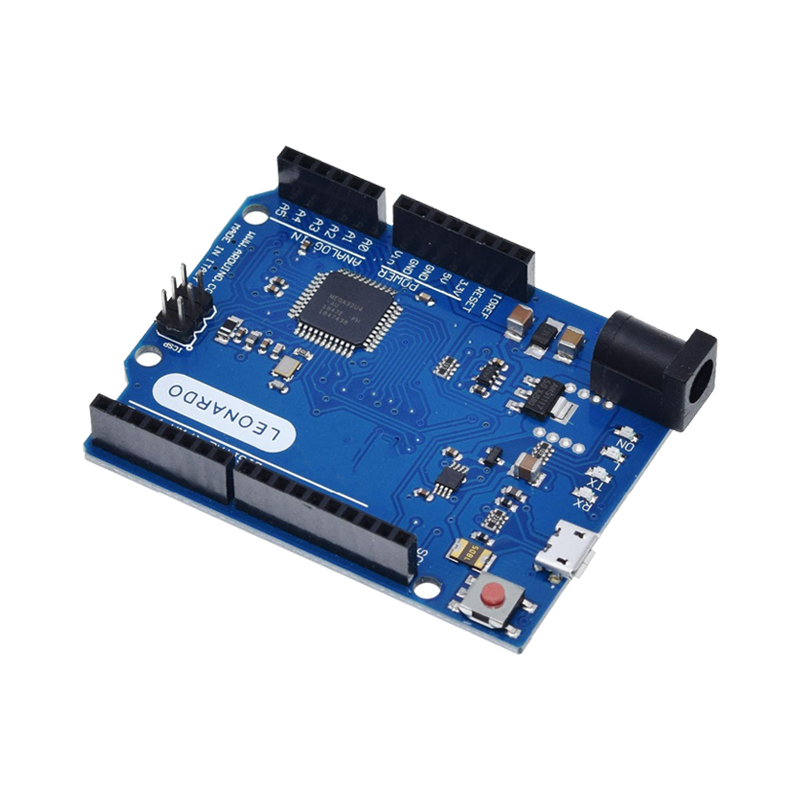
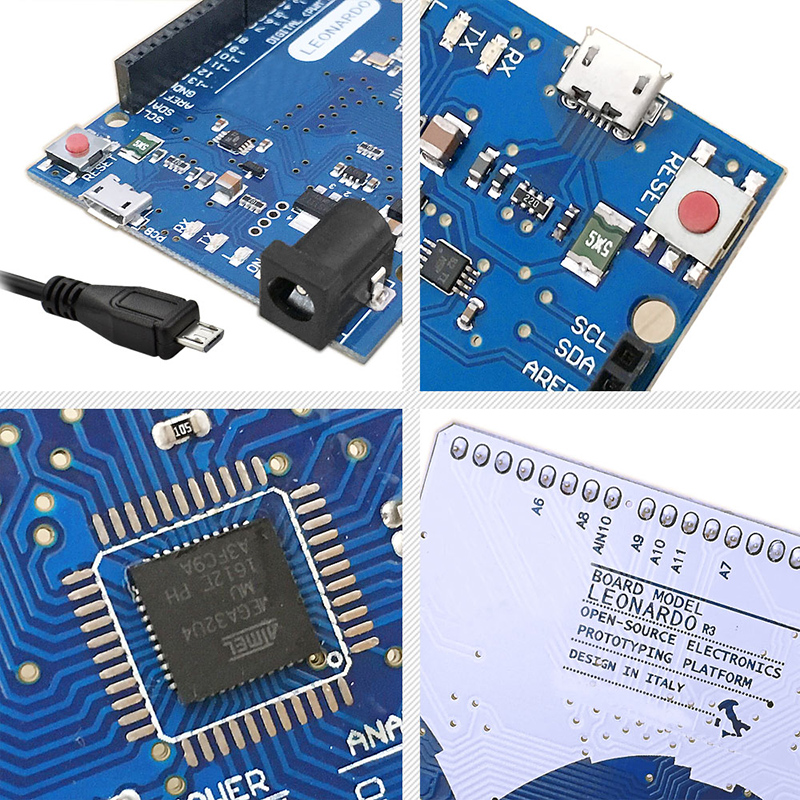
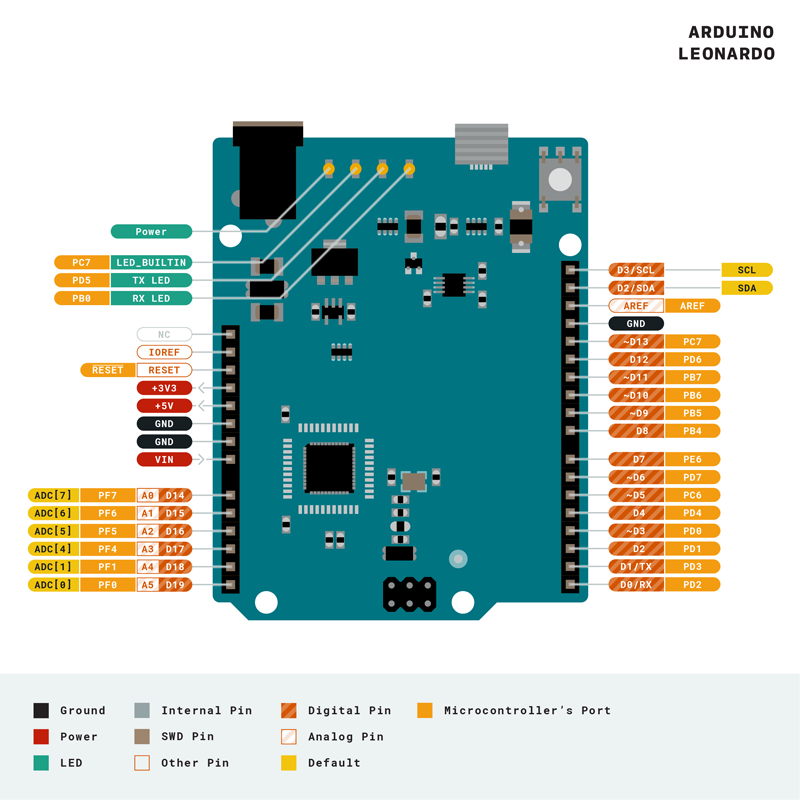
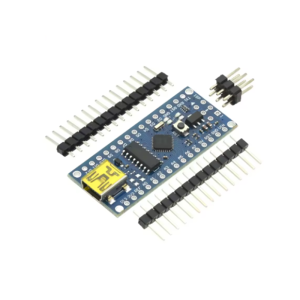
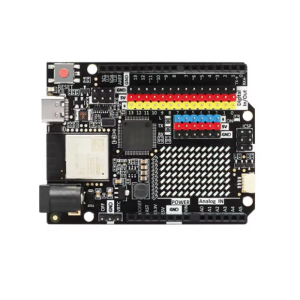
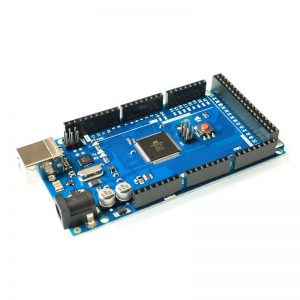
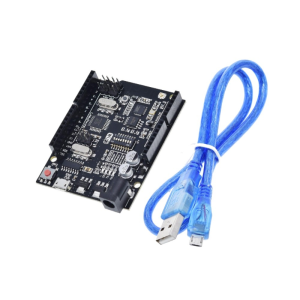
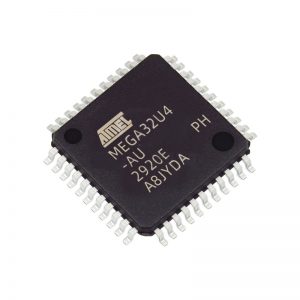
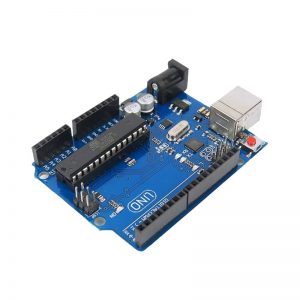
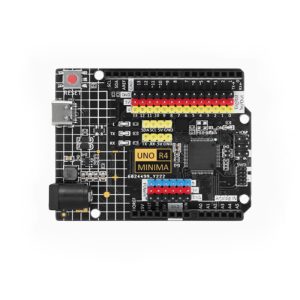
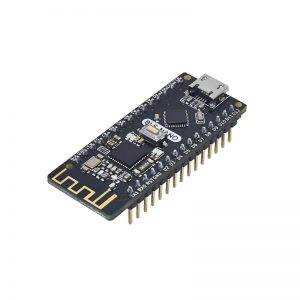
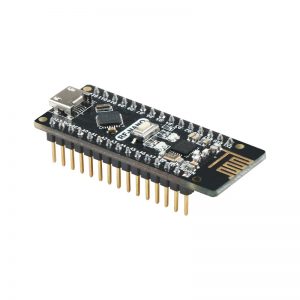
It contains everything needed to support the microcontroller; simply connect it to a computer with a USB cable or power it with a AC-to-DC adapter or battery to get started. The Leonardo differs from all preceding boards in that the ATmega32u4 has built-in USB communication, eliminating the need for a secondary processor. This allows the Leonardo to appear to a connected computer as a mouse and keyboard, in addition to a virtual (CDC) serial / COM port.
The Arduino Leonardo, Leonardo ETH and Micro boards use an ATmega32U4 to offer you more functionalities compared to Uno.
The Leonardo, Leonardo ETH and Micro are programmed using the Arduino Software (IDE), our Integrated Development Environment common to all our boards and running both online and offline. For more information on how to get started with the Arduino Software visit the Getting Started page.
Use your Leonardo, Leonardo ETH and Micro on the Arduino Web IDE
All Arduino boards, including this one, work out-of-the-box on the Arduino Web Editor, you only need to install Arduino Create Agent to get started.
The Arduino Web Editor is hosted online, therefore it will always be up-to-date with the latest features and support for all boards. Follow this simple guide to start coding on the browser and upload your sketches onto your board.
Use your Leonardo, Leonardo ETH and Micro on the Arduino Desktop IDE
If you want to program your Leonardo, Leonardo ETH and Micro while offline you need to install the Arduino Desktop IDE.
Installing drivers for Leonardo, Leonardo ETH and Micro
Drivers should be automatically installed plugging with an USB cable the board to your PC, but with some version of the Windows operative system (like Windows 7, Vista and 10) it can happen that your board won’t be recognized and you will get the message Unknown USB device. It is so necessary to manually install them following the guide Manually install Drivers on Windows.
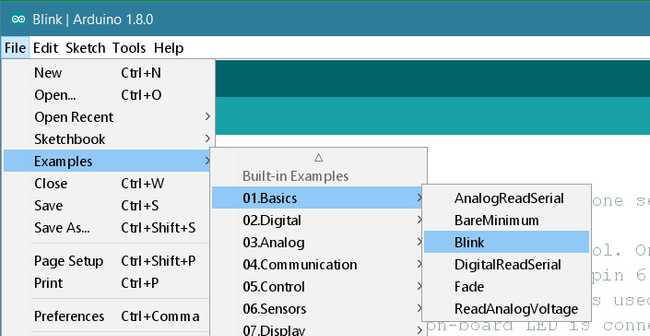
Open the Blink example
Now that you’ve set up your online IDE let’s make sure your computer can talk to the board, it’s time to make sure you can upload a program. To do that let’s open the LED blink example sketch: File > Examples > 1.Basics > Blink.
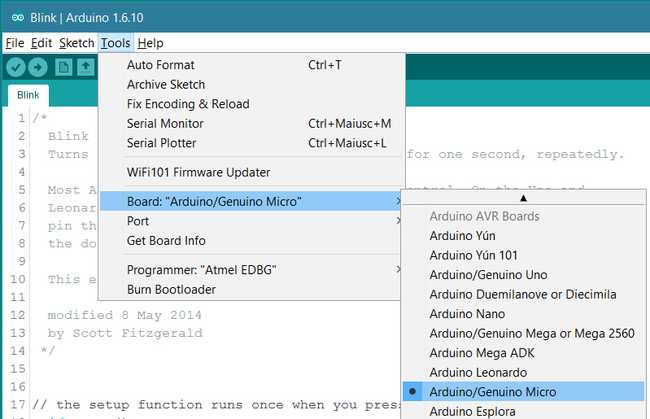
Select your board
You’ll need to select your board in the Tools > Board menu:
- Arduino Leonardo
- Arduino Leonardo ETH
- Arduino Micro
according to the board you have.
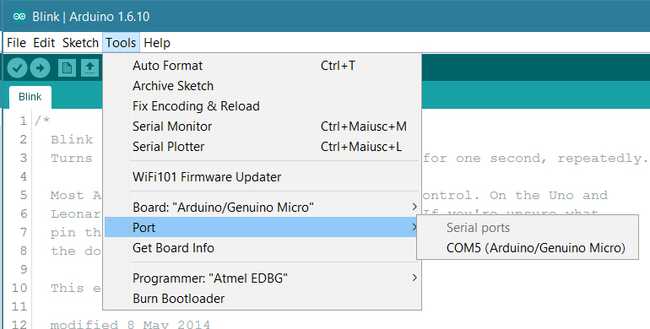
Select your serial port
Select the serial device of the board from the Tools > Serial Port menu.
Upload and Run your first Sketch
Click the Upload button in the upper left to load and run the sketch on your board:
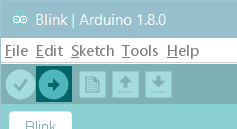
After the compilation and upload process, you should see the message Done Uploading and the built-in LED of the board should start blinking.
Tutorials
Now that you have set up and programmed your Leonardo, Leonardo ETH or Micro board, you may find inspiration in our Project Hub tutorial platform.
More examples on the following library pages will help you in making very cool things!
- Keyboard – Send keystrokes to an attached computer.
- Mouse – Control cursor movement on a connected computer.
- Ethernet for connecting to the internet using the Arduino Ethernet Shield, Arduino Ethernet Shield 2 and Arduino Leonardo ETH
Please read…
Good Coding Practice With the Leonardo, Leonardo ETH and Micro
A word of caution on using the USB Mouse and Keyboard Libraries: if the Mouse or Keyboard library is constantly running, it will be difficult to program your board. Functions such as Mouse.move() and Keyboard.print() will move your cursor or send keystrokes to a connected computer and should only be called when you are ready to handle them. It is recommended to use a control system to turn this functionality on, like a physical switch or only responding to specific input you can control. When using the Mouse or Keyboard library, it may be best to test your output first using Serial.print(). This way, you can be sure you know what values are being reported. Refer to the Mouse and Keyboard examples for some ways to handle this.

